Introduction to PCB Soldering
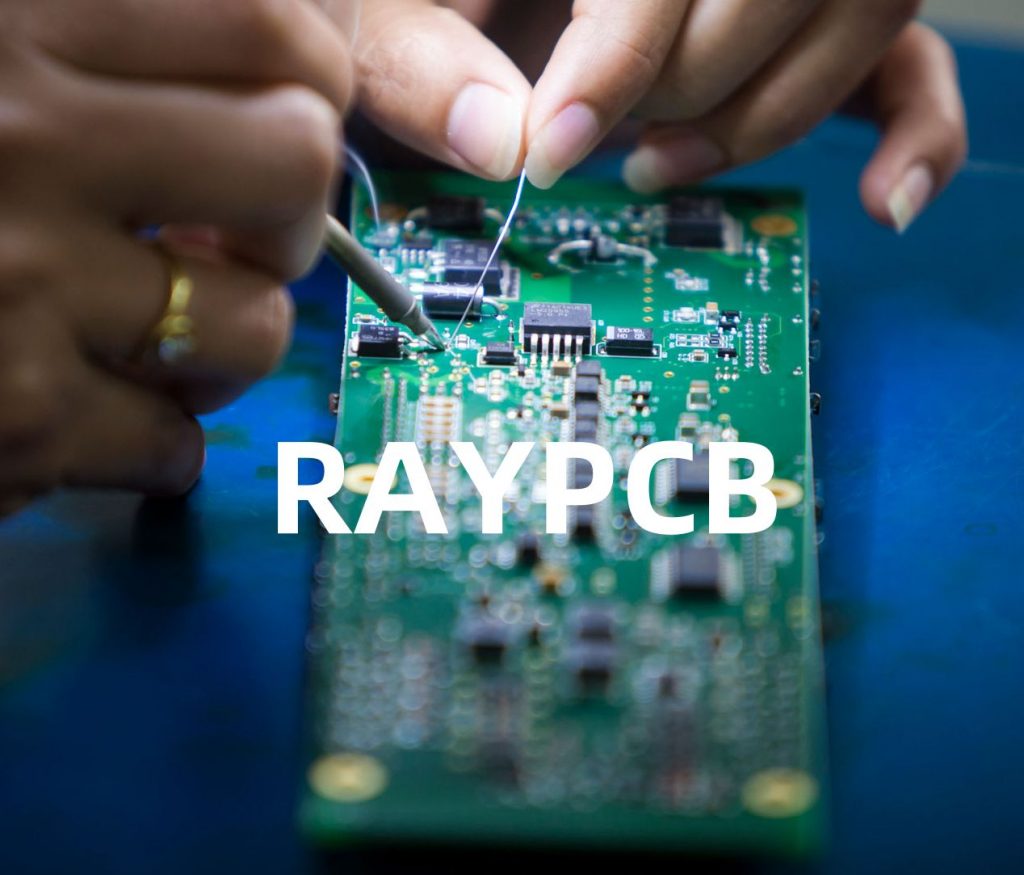
Printed Circuit Board (PCB) soldering is a fundamental skill in electronics manufacturing, allowing components to be securely attached to the board for reliable electrical connections. Various soldering techniques are used depending on the components, board design, and production volume. Mastering these techniques is essential for creating high-quality, durable electronic devices.
Types of Soldering
There are two primary types of soldering used in PCB Assembly:
- Through-hole soldering
- Surface mount soldering
Through-hole Soldering
Through-hole soldering involves inserting component leads through drilled holes in the PCB and soldering them to pads on the opposite side. This technique is used for larger components, such as connectors, switches, and some types of capacitors and resistors.
Advantages of through-hole soldering:
– Stronger mechanical connections
– Easier to work with for beginners
– Suitable for components subjected to mechanical stress
Disadvantages of through-hole soldering:
– Requires more space on the PCB
– Slower assembly process compared to surface mount soldering
Surface Mount Soldering
Surface mount soldering involves attaching components directly to pads on the surface of the PCB. Surface mount components (SMDs) are smaller and have either flat, J-shaped, or gull-wing leads that sit on top of the pads.
Advantages of surface mount soldering:
– Smaller component sizes allow for more compact PCB designs
– Faster assembly process, especially when automated
– Better high-frequency performance due to shorter lead lengths
Disadvantages of surface mount soldering:
– Requires more precise placement and soldering techniques
– Can be challenging to work with manually, especially for small components

Soldering Tools and Equipment
To perform PCB soldering effectively, you’ll need the following tools and equipment:
- Soldering iron
- Soldering tips
- Solder wire
- Flux
- Solder wick
- Tweezers
- Magnifying glass or microscope
- Fume extractor
Soldering Iron
A soldering iron is a hand tool that heats up to melt the solder, allowing it to flow and create a connection between the component and the PCB pad. When choosing a soldering iron, consider the following factors:
- Wattage: A 20-50 watt soldering iron is suitable for most PCB soldering tasks.
- Temperature control: Adjustable temperature control allows you to set the optimal temperature for different types of solder and components.
- Tip compatibility: Ensure that the soldering iron is compatible with a variety of tip sizes and shapes.
Soldering Tips
Soldering tips come in various sizes and shapes to accommodate different component types and soldering techniques. Some common tip shapes include:
- Conical: All-purpose tip suitable for most soldering tasks
- Chisel: Flat tip that provides more heat transfer and is useful for soldering larger components or multiple pins simultaneously
- Bevel: Angled tip that allows better access to tight spaces
Choose the appropriate tip size based on the component and PCB pad sizes you’ll be working with.
Solder Wire
Solder wire is an alloy, typically consisting of tin and lead (Sn/Pb) or tin, silver, and copper (Sn/Ag/Cu) for lead-free soldering. Solder wire comes in various diameters and compositions:
Diameter:
– 0.5mm to 1.5mm for through-hole soldering
– 0.25mm to 0.5mm for surface mount soldering
Composition:
– 63/37 (63% tin, 37% lead): Most common for through-hole soldering
– 60/40 (60% tin, 40% lead): Slightly higher melting point than 63/37
– 96.5/3.0/0.5 (96.5% tin, 3.0% silver, 0.5% copper): Common lead-free solder composition
Flux
Flux is a chemical cleaning agent that removes oxides from the metal surfaces and helps the solder flow more easily, resulting in stronger and more reliable connections. There are two main types of flux:
- Rosin flux: Available in various activity levels (mild, activated, and highly activated), rosin flux is suitable for most PCB soldering applications. It is electrically non-conductive and can be left on the board after soldering.
- Water-soluble flux: More aggressive than rosin flux and requires cleaning after soldering. Water-soluble flux is used when a higher level of cleanliness is required.
Many Solder Wires come with a flux core, which eliminates the need for separate flux application during soldering.
Solder Wick
Solder wick, also known as desoldering braid, is a copper braid used to remove excess solder from joints or to desolder components. To use solder wick:
- Place the wick on the solder joint
- Heat the wick with the soldering iron
- The excess solder will be absorbed into the wick through capillary action
Tweezers
Tweezers are essential for handling small components and precisely placing them on the PCB pads. Choose tweezers with fine tips and a comfortable grip.
Magnifying Glass or Microscope
A magnifying glass or microscope helps you inspect solder joints for quality and identify any issues, such as bridging or insufficient solder. A magnification of 5x to 10x is usually sufficient for most PCB soldering tasks.
Fume Extractor
Soldering produces fumes that can be harmful if inhaled. A fume extractor removes these fumes from your work area, ensuring a safer soldering environment.

Soldering Techniques
Through-hole Soldering Technique
- Place the component leads through the designated holes in the PCB
- Bend the leads slightly outward to hold the component in place
- Apply a small amount of solder to the tip of the soldering iron
- Touch the soldering iron to the pad and the component lead simultaneously
- Feed solder into the joint, allowing it to melt and flow around the lead and pad
- Remove the soldering iron and let the joint cool
- Trim the excess lead close to the solder joint
Surface Mount Soldering Techniques
Hand Soldering
- Apply a small amount of solder paste or flux to the PCB pads
- Place the component on the pads using tweezers
- Touch the soldering iron to the component lead and pad simultaneously
- Feed solder into the joint, allowing it to melt and flow around the lead and pad
- Remove the soldering iron and let the joint cool
Reflow Soldering
Reflow soldering is an automated process used for surface mount components:
- Apply solder paste to the PCB pads using a stencil or syringe
- Place the components on the pads using tweezers or a pick-and-place machine
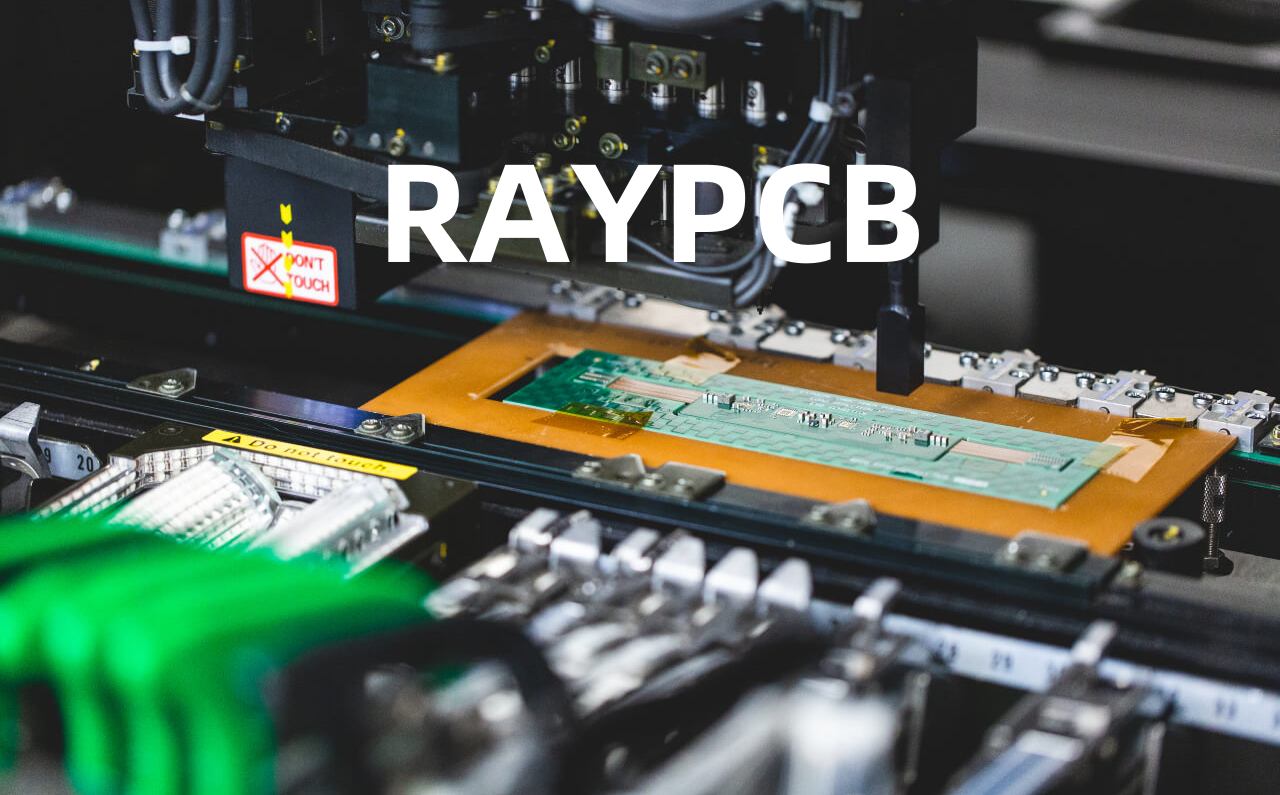
- Pass the PCB through a reflow oven, which heats the board in stages, melting the solder paste and creating the solder joints
- Cool the PCB to allow the solder joints to solidify
Soldering Quality Inspection
After soldering, inspect the joints for quality using a magnifying glass or microscope. Look for the following characteristics of a good solder joint:
- Concave fillet shape
- Shiny surface
- Smooth transition from pad to component lead
- No excess solder or bridging between adjacent pads
If you notice any issues, such as insufficient solder, bridging, or a dull, grainy appearance, desolder the joint using solder wick and resolder it.

Soldering Safety
When soldering, always prioritize safety:
- Work in a well-ventilated area or use a fume extractor to avoid inhaling harmful fumes
- Wear safety glasses to protect your eyes from solder splashes
- Use a heat-resistant mat to protect your work surface
- Keep the soldering iron in a stand when not in use
- Allow components and joints to cool before handling them
- Wash your hands after soldering to remove any residual flux or solder
FAQ
1. What is the difference between lead-based and lead-free solder?
Lead-based solder, typically 63/37 or 60/40 tin-lead ratio, has been widely used in electronics manufacturing due to its low melting point and good wetting properties. However, due to health and environmental concerns, lead-free solder alloys, such as those containing tin, silver, and copper (SAC), have become more common. Lead-free solders have higher melting points and may require different soldering techniques and temperatures.
2. How do I choose the right soldering iron tip for a specific task?
When choosing a soldering iron tip, consider the size and type of components you’ll be soldering. For through-hole components, use a larger tip with a chisel or bevel shape to provide more heat transfer. For surface mount components, use a smaller conical or chisel tip for precise control. Always ensure that the tip size is appropriate for the pad and component lead sizes to avoid damaging the PCB or components.
3. What causes solder bridges, and how can I prevent them?
Solder bridges occur when excess solder accidentally connects adjacent pads or component leads. To prevent solder bridges:
- Use the appropriate amount of solder
- Avoid applying too much heat, which can cause the solder to flow uncontrollably
- Ensure the soldering iron tip is clean and well-tinned
- Use flux to help the solder flow more evenly
- If a solder bridge occurs, remove the excess solder using a solder wick
4. How can I tell if a solder joint is good or bad?
A good solder joint should have a concave fillet shape, a shiny surface, and a smooth transition from the pad to the component lead. It should also be free of excess solder, bridging, or voids. A bad solder joint may have a dull, grainy appearance, an excessive or insufficient amount of solder, or a visible gap between the pad and the component lead. Use a magnifying glass or microscope to visually inspect solder joints for quality.
5. What safety precautions should I take when soldering?
When soldering, always work in a well-ventilated area or use a fume extractor to avoid inhaling harmful fumes. Wear safety glasses to protect your eyes from solder splashes, and use a heat-resistant mat to protect your work surface. Keep the soldering iron in a stand when not in use, and allow components and joints to cool before handling them. After soldering, wash your hands to remove any residual flux or solder.
Conclusion
PCB soldering is a crucial skill for anyone involved in electronics manufacturing or hobby projects. By understanding the different types of soldering, tools, and techniques, you can create reliable and high-quality solder joints. Always prioritize safety and take the time to inspect your work for the best results. With practice and attention to detail, you’ll be able to master PCB soldering techniques and tackle increasingly complex projects.

No responses yet